
A Cookie Wedding Tree Treat
We always love hearing about your creative endeavours here at Wedding in a Teacup HQ. It inspires us and makes us happy that our goodies are inspiring you! As well as loving all our creative brides-to-be, we feel very lucky to be in what is increasingly a super creative industry. Today is a Teacup first as we invite the lovely Michelle from Handmade & Hitched to share one of her DIY ideas with us. She took the opportunity to combine her baking skills with some of our pretty cotton ribbon to create a scrumptious cookie tree - a stunning, stand-alone decoration for your venue that is sprinkled with hanging decorations that double up as edible favours... We're sold! Over to Michelle...
To make the tree you will need to find a strong branch with a good shape and lots of twiggy bits for the cookie to dangle from! I went for a lovely winters day wander in the woods to find mine - there are all kinds of fallen branches on the floor of the woods this time of year... You can also find display trees in places like hobbycraft or try googling ‘display trees’ on the internet. Once you have your branch home, let it dry out for a couple of days in the warm then spray paint it (white looks stunning with the golden-brown biscuits!) or leave it natural. Find a sturdy plant pot (with stones for wedging) or a tree stand to stand the branch erect - again, paint the holder if you like.
Once your tree is all set up you can begin working on the cookies... These quantities make about 25-30 of them, and they should last for up to one month in an airtight box (less if they are iced):
- 250g unsalted butter
- 250g caster sugar
- 500g plain flour
- 1 teaspoon vanilla extract
- 1 egg
- Cookie cutters of your desired shape
- A straw
- Wedding in a Teacup ribbon to suit your wedding style

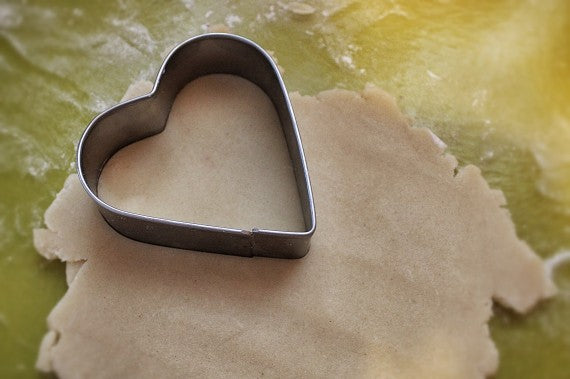
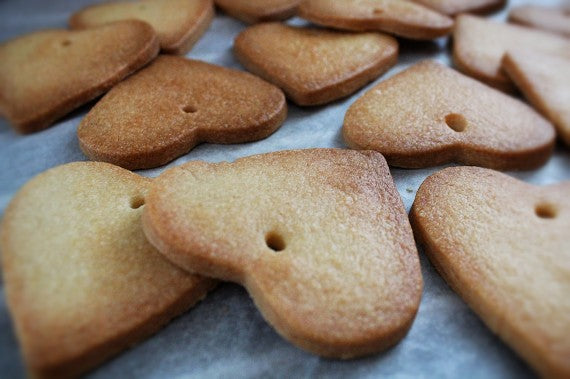
Cream together the butter, sugar and vanilla extract in a bowl, adding the egg and mix gently, then gradually add the flour mixing it in well... When the dough forms a single lump with no crumbs the mixture is ready. Wrap the dough in cling-film and pop it in the fridge for an hour or longer. When you are ready to work with the dough preheat the oven to 180° C and roll out the dough to around 4mm on a floured surface. Using the cookie cutters cut out your shapes and use a straw to cut out a hole at the top of each cookie. Then transfer the cookies to a baking tray lined with grease proof baking paper, pop your cookies in the oven and keep an eye on them - they should take around 10-15 minutes to bake. The cookies are ready when they are golden brown... Pop them on a wire tray and allow them to cool before threading your ribbon through the holes. Voila!

You can decorate your cookies with icing sugar if you want them to be colourful, or add chocolate chips to the cookie dough mixture for a yummy optional extra. Experiment with different cookie cutters to fit your theme - the tea pot cookie cutter that I have used would be great for an Alice in Wonderland or vintage tea party look. The little phrases and images on the ribbon are a very sweet touch that won’t go unnoticed by your guests... Enjoy!
![IMG_3932[1]](https://cdn.shopify.com/s/files/1/0066/4118/8979/files/IMG_39321-570x380.jpg)